Flat Chunky Yarn Beanie Crochet Pattern No Decreases
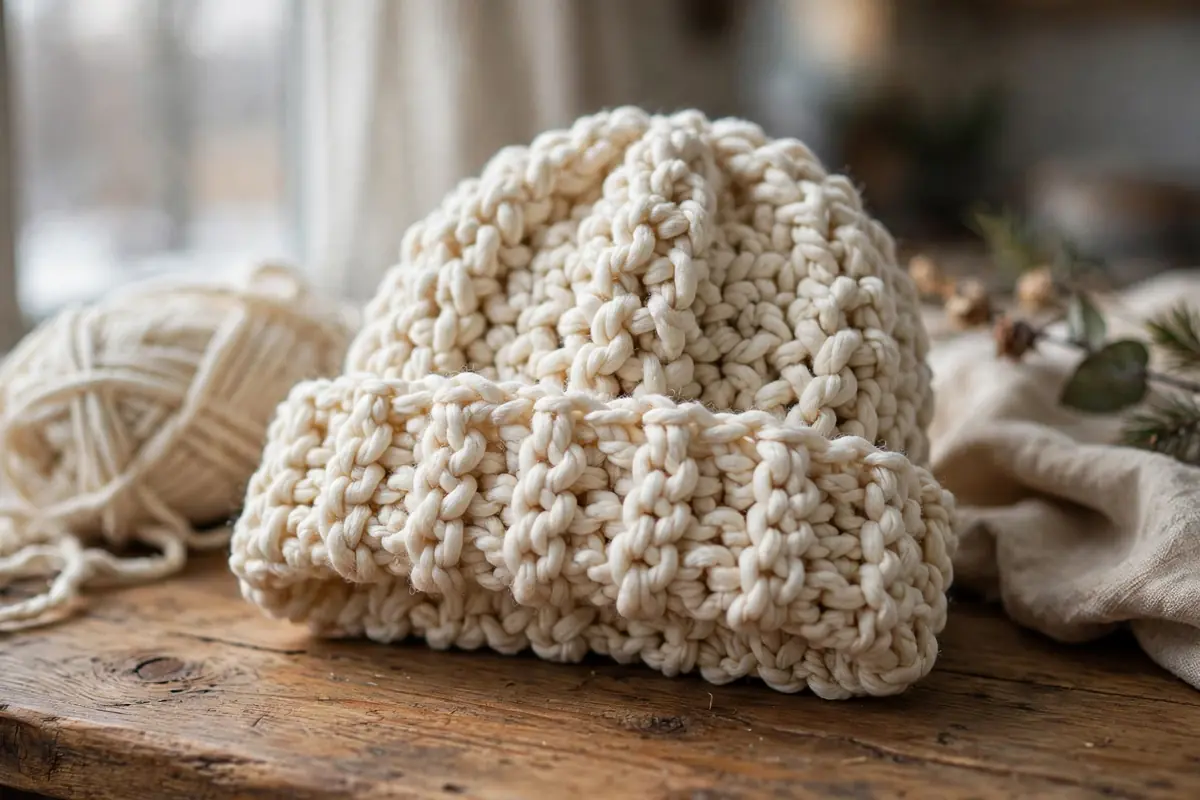
This chunky beanie crochet pattern is the ultimate beginner workaround if you are intimidated by crown shaping or stitch decreases. You simply crochet a flat rectangle using single crochet in the back loops, sew the side seam together, and cinch the top closed. Grab your favorite thick yarn and let us create a cozy, ribbed winter hat in under an hour!
Materials Needed
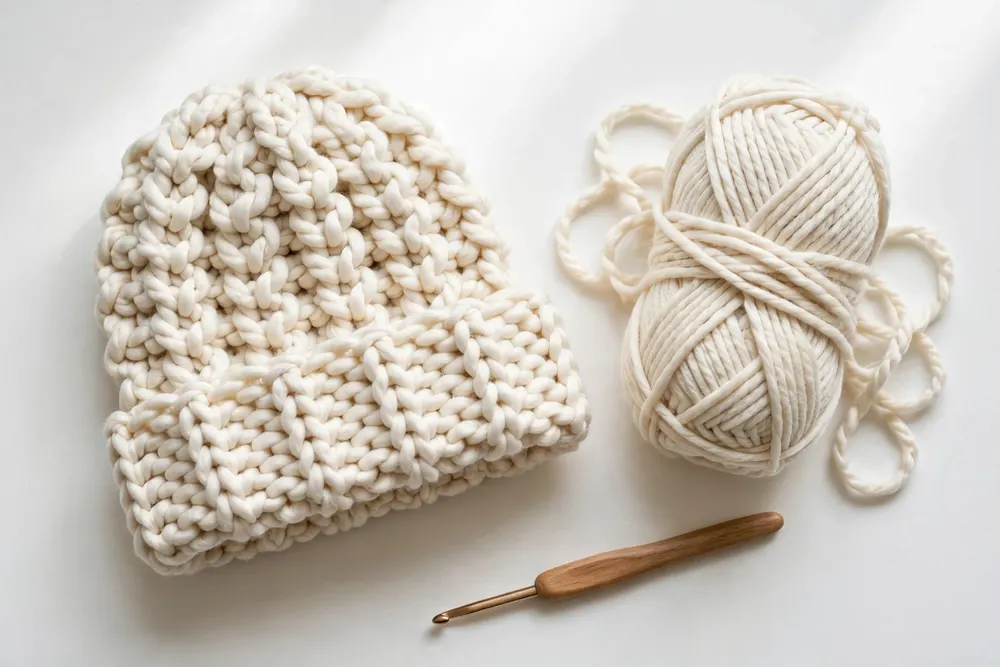
- Yarn: 1 skein of Super Bulky yarn (Weight 6, approx. 80 to 90 yards)
- Crochet Hook: 9.0 mm (US M/N-13) crochet hook
- Notions: Large-eye yarn needle, stitch marker, and scissors
Abbreviations (US Crochet Terms)
- ch: chain
- sc: single crochet
- BLO: back loops only
- st(s): stitch(es)
Gauge & Finished Size
- Gauge: 8 sc and 8 rows in BLO = 4 inches (10 cm).
- Finished Size: Fits average adult head (11 inches tall before folding brim, 18 to 20 inches in circumference lying flat).
Chunky Beanie Crochet Pattern: Step-by-Step Instructions
Foundation Chain
- Foundation Chain: Ch 24.
- Note: The length of your chain determines the height of the hat from crown to fold-over brim.
Main Ribbed Rectangle
- Row 1: Work 1 sc in the second ch from your hook. Work 1 sc in each remaining ch across. Turn your work. (23 sts)
- Row 2: Ch 1 (does not count as a stitch here or throughout). Work 1 sc in the BLO of the very first st and in each st across the row. Turn your work. (23 sts)
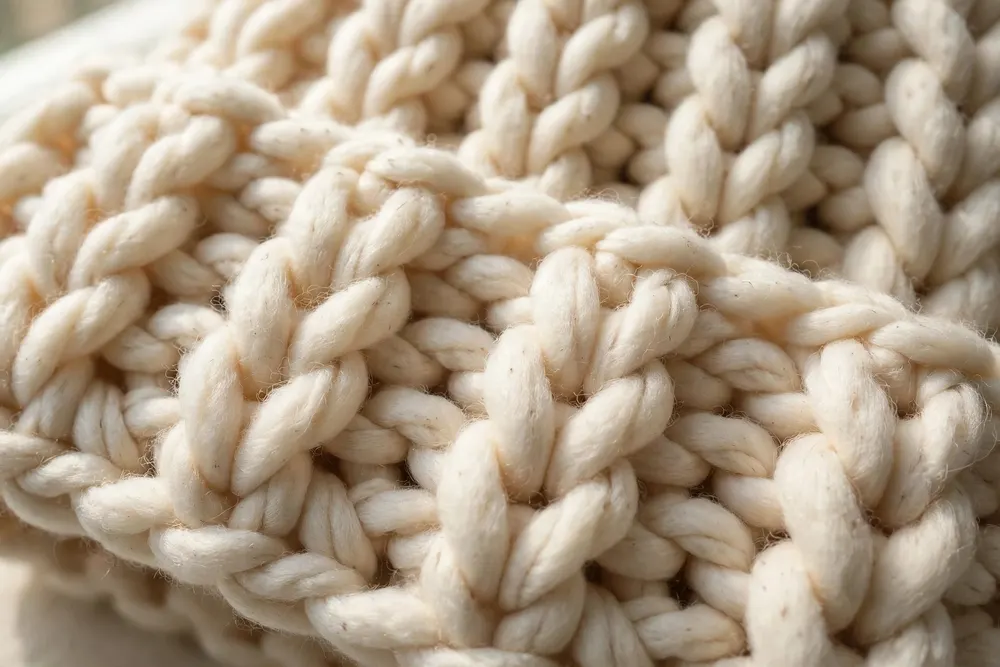
- Tip: Working in the back loops only creates a stretchy, knit-look ribbed texture.
- Rows 3 to 34 (or until desired head circumference): Repeat Row 2 until your flat piece measures approximately 18 to 19 inches long when unstretched. Make sure to end on an even row. (23 sts)
Seaming and Cinching Assembly
- Step 1 (Side Seam): Fold the rectangle in half so the short ends meet (Row 1 aligned with your final row). Fasten off leaving an 18-inch yarn tail. Thread the tail onto your yarn needle.
- Step 2 (Sewing the Tube): Whip stitch the starting chain edge and the final row together through both loops to form a ribbed tube.
- Step 3 (Cinching the Top): Do not cut the remaining yarn tail. Weave your yarn needle in and out of the top stitches around the top opening of the tube (about every 2 stitches).
- Step 4 (Closing the Crown): Pull the yarn tail tightly like a drawstring to cinch the top hole closed completely. Knot the yarn securely on the inside of the hat, then weave in your tail.
Practical Tips for Beginners
- Keep Your Tension Relaxed: Super bulky yarn needs a loose hand. Tight stitches will make the rectangle stiff and hard to cinch at the crown.
- Count Your Stitches Regularly: Check that you maintain 23 stitches per row so the top and bottom of your rectangle remain straight and parallel.
- Adjust the Height Easily: If you want a slouchy beanie without a fold-over brim, reduce your starting chain to 20. For a deep folded brim, start with 26 chains.
- Cinch in Two Passes for Heavy Yarn: If your chunky yarn is too thick to pull completely tight in one go, weave around the top opening twice to share the strain and get a tight seal.
Crocheting a stylish beanie does not require complicated crown math or decreasing rounds. This chunky beanie crochet pattern uses a simple flat rectangle technique, so you can easily adapt it for any size head or yarn weight. Once you finish this chunky beanie crochet pattern, explore more free patterns on the homepage, and check yarn standards at the Craft Yarn Council. Fold up your brim, pop on your new cozy hat, and enjoy your handmade creation!