Quick Magic Ring Crochet Turtle Pattern Low Sew
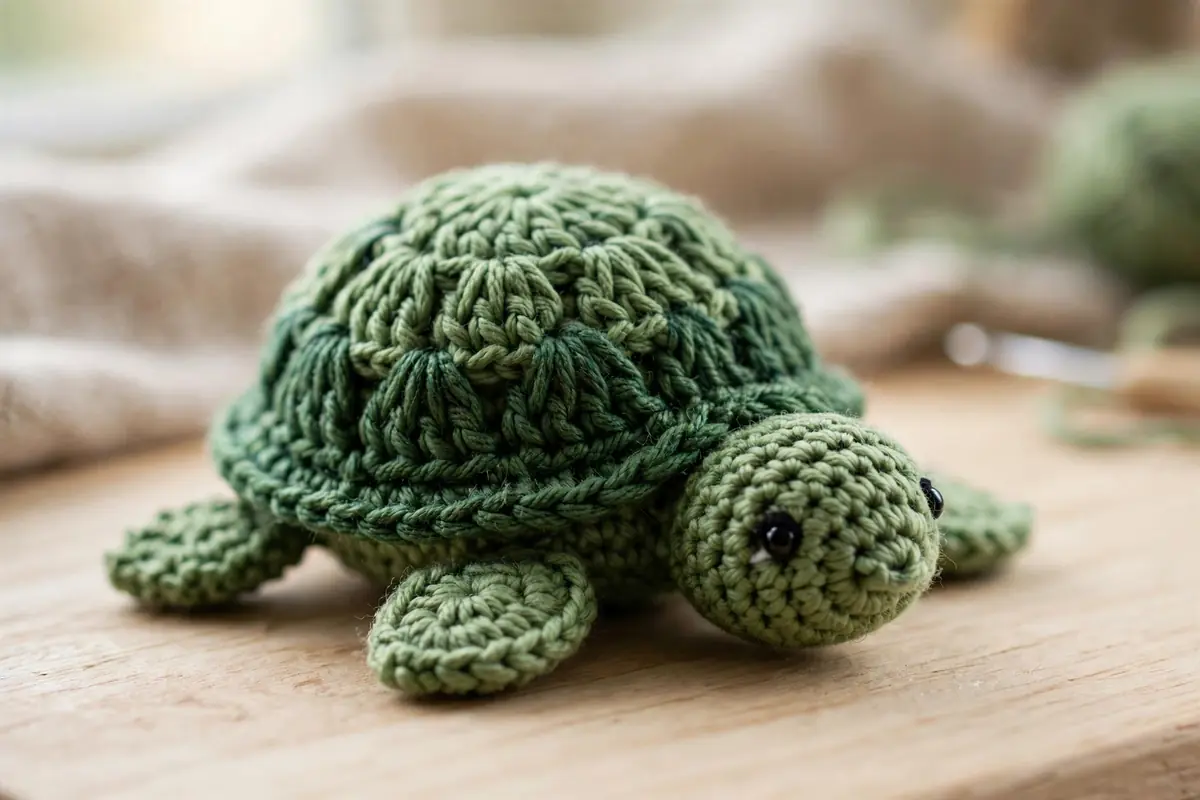
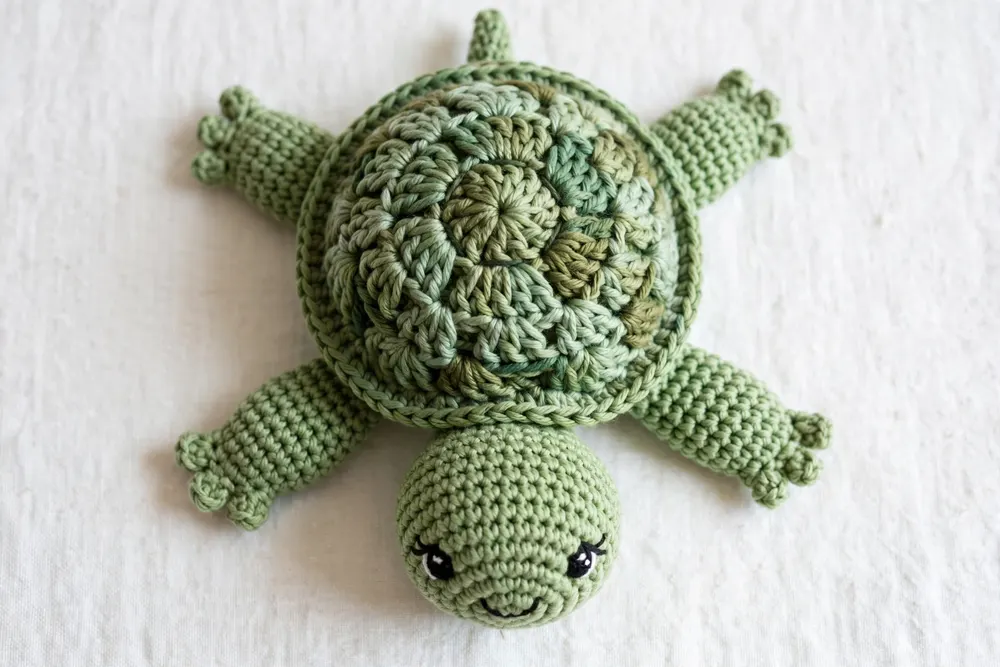
This crochet turtle pattern makes creating your very first amigurumi turtle a fun milestone that does not have to be complicated or time consuming. This simple pattern uses a magic ring base to create a seamless shell, while working the head, flippers, and tail into the body with almost no sewing required. Pick up your favorite yarn shades and let us craft a sweet little sea turtle in under an hour!
Materials Needed
- Yarn: Medium weight worsted yarn (Weight 4) in Shell Color (Green or Brown) and Body Color (Sage or Cream)
- Crochet Hook: 3.5 mm (US E-4) crochet hook
- Safety Eyes: 1 pair of 8 mm safety eyes
- Stuffing: Polyester fiberfill stuffing
- Notions: Stitch marker, yarn needle, and scissors
Abbreviations (US Crochet Terms)
- ch: chain
- sc: single crochet
- inc: single crochet increase (2 sc in the same stitch)
- dec: invisible single crochet decrease (crochet 2 stitches together)
- sl st: slip stitch
- st(s): stitch(es)
- FLO: front loops only
- BLO: back loops only
- SC: Shell Color
- BC: Body Color
Gauge & Notes
- Gauge: Gauge is not critical for this project. Keep your stitches tight so stuffing stays completely hidden.
- Working Method: Worked in continuous continuous spiral rounds. Place a stitch marker in the first stitch of each round to keep count.
- Low Sew Design: The flippers, tail, and head are worked directly into the body loops or attached seamlessly during assembly.
Crochet Turtle Pattern: Step-by-Step Instructions
Upper Shell
Starting with Shell Color (SC).
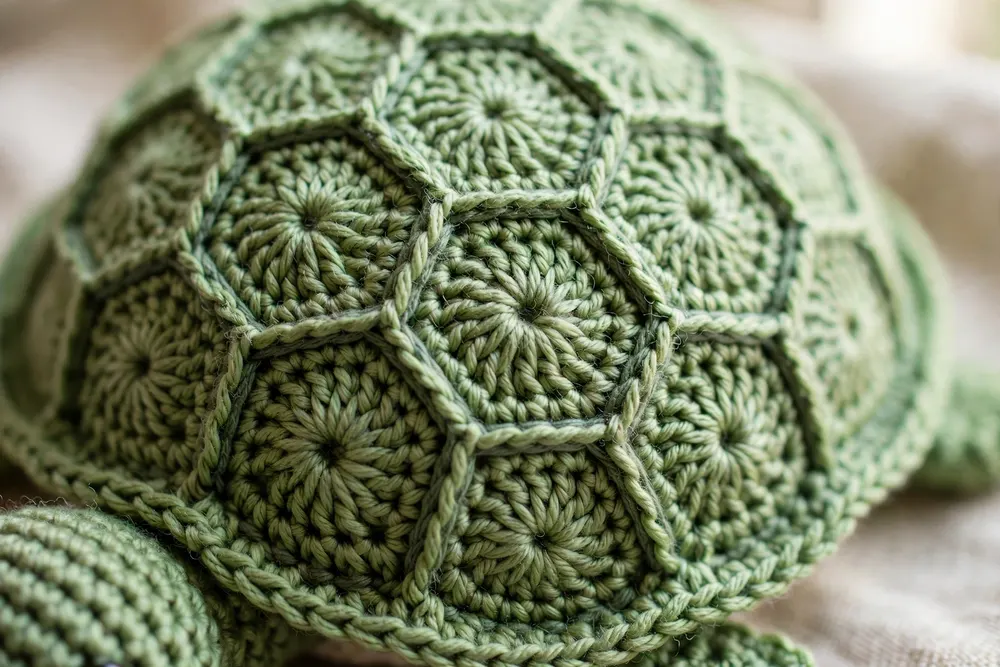
- Round 1: Make a magic ring, work 6 sc into the ring. Pull loop tight. (6 sts)
- Round 2: Work 1 inc in each st around. (12 sts)
- Round 3: Repeat [1 sc, 1 inc] 6 times. (18 sts)
- Round 4: Repeat [2 sc, 1 inc] 6 times. (24 sts)
- Rounds 5 to 6: Work 1 sc in each st around for 2 rounds. (24 sts)
- Round 7: Switch to Body Color (BC) in the last stitch. Work 1 sc in the BLO of each st around. (24 sts)
Flippers, Tail, and Head (Worked into Round 8)
In this round, we create all limbs directly onto the body edge using Body Color (BC).
- Round 8:
- Front Flipper 1: [Ch 4, work 1 sc in 2nd ch from hook, 1 hdc in next ch, 1 sc in next ch], 1 sc in next body st.
- Head: [Ch 5, work 1 sc in 2nd ch from hook, 2 sc in next ch, 1 sc in next 2 ch], 1 sc in next body st. (Attach safety eyes to head now).
- Front Flipper 2: [Ch 4, work 1 sc in 2nd ch from hook, 1 hdc in next ch, 1 sc in next ch], 1 sc in next 7 body sts.
- Back Flipper 1: [Ch 3, work 1 sc in 2nd ch from hook, 1 sc in next ch], 1 sc in next 4 body sts.
- Tail: [Ch 3, work 1 sl st in 2nd ch from hook, 1 sc in next ch], 1 sc in next 4 body sts.
- Back Flipper 2: [Ch 3, work 1 sc in 2nd ch from hook, 1 sc in next ch], 1 sc in remaining body sts to complete the round. (24 base sts)
Bottom Belly Plate & Closing
Stuff the shell lightly with fiberfill now.
- Round 9: Work in the back loops behind the limb chains from Round 8. Repeat [2 sc, 1 dec] 6 times. (18 sts)
- Round 10: Repeat [1 sc, 1 dec] 6 times. Add final stuffing. (12 sts)
- Round 11: Repeat [1 dec] 6 times around. (6 sts)
Fasten off and leave a 6-inch yarn tail. Thread tail onto a yarn needle, weave through front loops of the final 6 stitches, pull tight to close, and hide the end inside the turtle.
Practical Tips for Beginners
- Pull the Magic Ring Tight: Ensure your initial magic ring is pulled firmly closed at the center of the shell so stuffing does not peek through the top.
- Flatten Flippers After Round 8: Use your fingers to press and shape the chain limbs outward so they lie flat against the shell rim before closing the belly.
- Secure Eyes Early: Place safety eye backings onto the head chain extension before completing Round 9 so you can snap the washers securely inside.
- Use Contrast Colors: Using two distinctly different yarn colors for the shell and body makes stitch identification much easier while executing limb chains.
Making cute amigurumi animals does not have to mean endless hours of sewing separate pieces together. This crochet turtle pattern uses a magic ring base to create a seamless shell with built-in limb loops in one simple session. Once you finish this crochet turtle pattern, explore more free patterns on the homepage, and check stitch standards at the Craft Yarn Council. Enjoy your tiny handmade sea turtle!