Easy Fingerless Gloves Crochet Pattern Rectangles Only
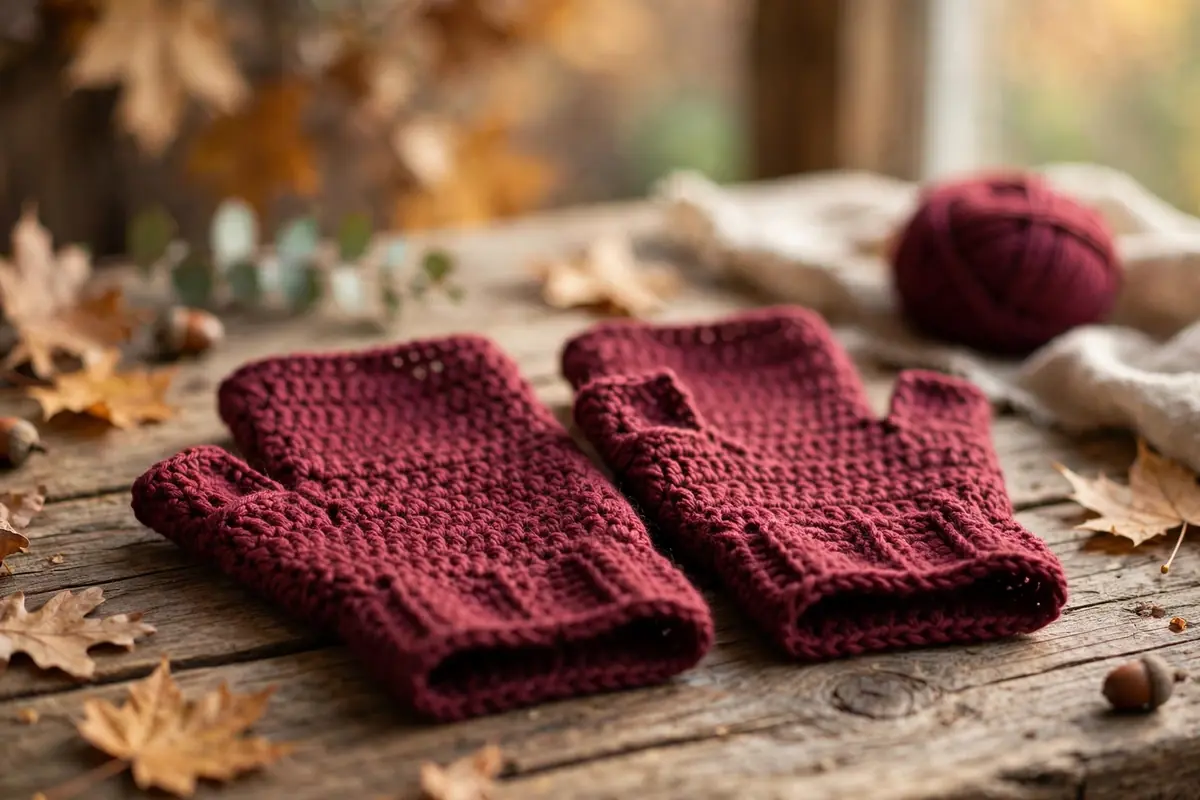
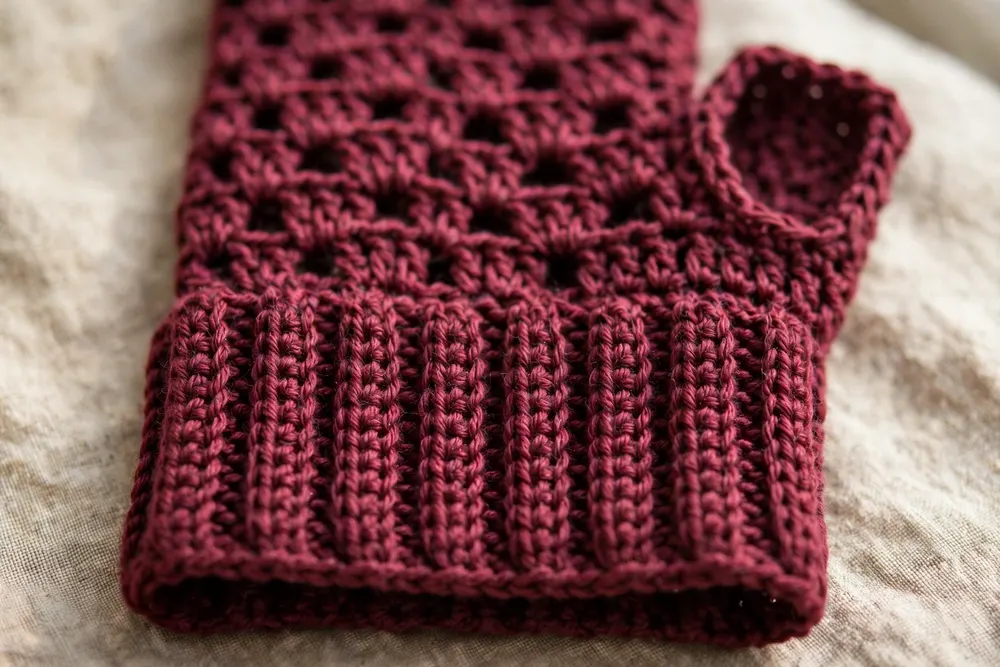
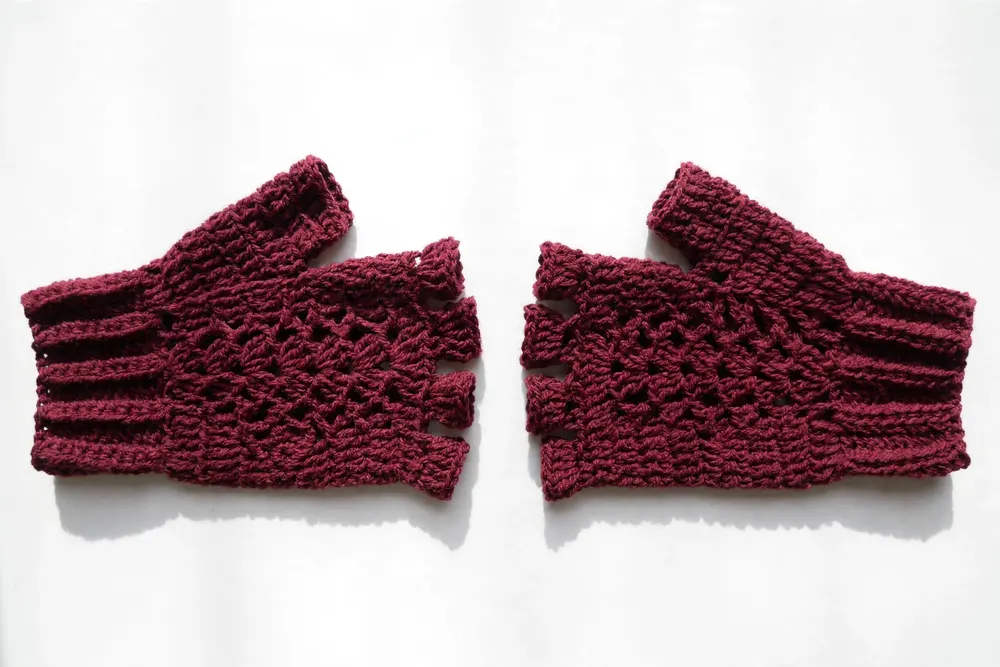
This fingerless gloves crochet pattern lets you make a cozy, stylish pair of fingerless gloves from a simple flat rectangle. This beginner-friendly design completely eliminates thumb shaping, decreases, and complicated wrist gussets. Grab a hook and your favorite cozy yarn, and let us stitch up a soft pair of hand warmers in a single afternoon!
Materials Needed
- Yarn: 1 skein of Medium Worsted Weight yarn (Weight 4, approx. 110 to 120 yards total)
- Crochet Hook: 5.0 mm (US H-8) crochet hook
- Notions: Yarn needle, tape measure, and scissors
Abbreviations (US Crochet Terms)
- ch: chain
- sc: single crochet
- hdc: half double crochet
- BLO: back loops only
- st(s): stitch(es)
Gauge & Finished Size
- Gauge: 14 hdc in BLO and 10 rows = 4 inches (10 cm).
- Finished Size: Makes 1 pair. Each flat rectangle measures 7 inches wide by 7.5 inches long before seaming (fits average teen/adult hands).
Fingerless Gloves Crochet Pattern: Step-by-Step Instructions
(Make 2 identical rectangles).
Foundation Chain
- Foundation Chain: Ch 26.
- Note: The length of this chain determines how far down your wrist and up your fingers the glove will extend.
Main Ribbed Body
- Row 1: Work 1 hdc in the 3rd ch from your hook (the 2 skipped chains count as a turning space, not a stitch). Work 1 hdc in each remaining ch across. Turn your work. (24 sts)
- Row 2: Ch 2 (does not count as a stitch here or throughout). Work 1 hdc in the BLO of the very first st and in each st across the row. Turn your work. (24 sts)
- Tip: Working in the back loops only creates a soft, elastic ribbing that stretches comfortably around your palm.
- Rows 3 to 18: Repeat Row 2 until your flat piece measures 7 inches in width when unstretched. (24 sts)
Fasten off, leaving an 18-inch yarn tail for seaming.
Seaming and Thumb Hole Assembly
- Fold the rectangle in half lengthwise with right sides facing inward so Row 1 lines up with Row 18.
- Thread your 18-inch yarn tail onto a yarn needle.
- Bottom Wrist Seam: Starting from the bottom wrist edge, whip stitch the two sides together for 3 inches (approx. 10 stitches). Secure with a firm knot, but do not cut the yarn.
- Thumb Opening: Skip the next 2 inches (approx. 6 stitches) completely without sewing. This open gap forms your comfortable thumb hole.
- Top Finger Seam: Continue whip stitching the remaining 2.5 inches (approx. 8 stitches) together up to the top finger edge.
- Knot the yarn securely at the top corner and weave the remaining tail through the inside stitches. Cut excess yarn.
- Repeat the entire process for the second glove. Turn both gloves right-side out.
Practical Tips for Beginners
- Measure Your Palm Circumference: Before finishing Row 18, wrap your rectangle around your hand. It should fit snugly without gaping or pulling excessively tight across your knuckles.
- Leave a Generous Thumb Gap: Try the glove on after stitching the wrist section to ensure your thumb moves freely through the unsewn gap before knotting your thread.
- Use Elastic Yarn: Choose standard acrylic or wool blends for this project. Pure cotton has less natural bounce and may stretch out over time around your wrist.
- Mark Your Seam Lengths: Use stitch markers or safety pins to mark the top and bottom seam boundaries before you start sewing to ensure both gloves match in size.
Learning to make wearable accessories does not have to involve intimidating stitch counts or complex shaping. This fingerless gloves crochet pattern uses simple flat rectangles, so you can craft comfortable, functional gloves while practicing your ribbing technique. Once you finish this fingerless gloves crochet pattern, explore more free patterns on the homepage, and check yarn standards at the Craft Yarn Council. Wear your new pair with pride or gift them to a friend!